
Run Ubuntu in Windows Running Ubuntu as your fundamental OS is a remarkable choice for protection, reliability and pace. However, there are a few activities when this isn’t feasible. Most often this is inside a enterprise surroundings where software compatibility and safety can be an issue. I have worked with clients who need Microsoft Windows, specifically whilst consumer administration is done via Active Directory.
However, you could run Ubuntu via virtualisation. There are many to be had services and products to do this, maximum extensively Virtualbox, but Windows has a integrated virtualisation carrier referred to as Hyper-V.
Run Ubuntu in Windows Prerequisites
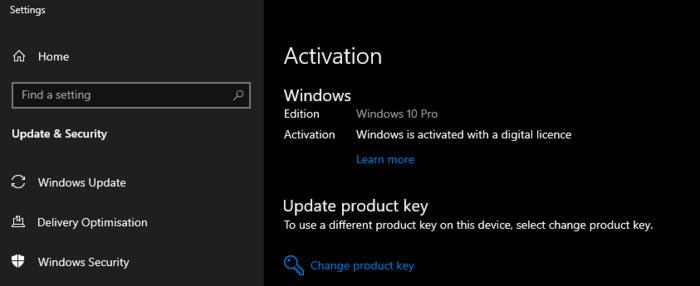
Firstly, you may need Windows 10 Pro, as Hyper-V is not available on Home variations of the OS. You can check this by using clicking on the Start menu and typing “Activation.” You should see “Activation Settings” as a great in shape on the top. Click this and it’s going to open the Windows Activation that is inside the settings. If it says “Windows 10 Pro” as under, you then are prepared. If now not, you’ll want to shop for a license to upgrade.
The next factor you’ll need is to grab an image of Ubuntu. Navigate to the Ubuntu internet site, and select the Desktop version. You can also use the server picture, but for this educational we can installation the primary OS. An ISO photograph will download, and this carries the whole thing you need to run or deploy Ubuntu.
Run Ubuntu in WindowsEnabling Hyper-V
You will want to permit Hyper-V on the system. This comes as a module that may be discovered via trying to find “Turn Windows Features On” at the Start menu. It should bring up a small Window with a range of alternatives. If now not, it can be observed in the Control Panel -> Turn Windows capabilities on or off as in step with the screenshot.

Click the checkbox for Hyper-V and press OK. Windows will download the necessary files and then prompt for a restart.
Run Ubuntu in Windows Virtualization
Now you are geared up to begin the usage of Hyper-V. Click the Start menu, and kind “Hyper-V” to locate the newly installed software program and open.
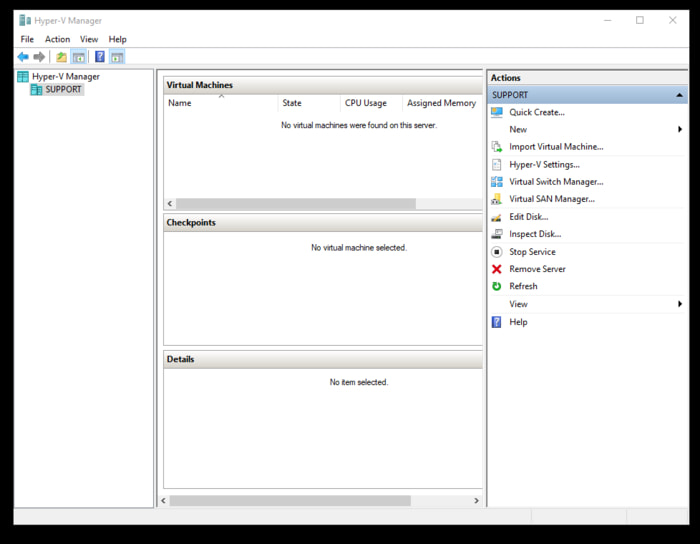
Click “New” within the menu on the right to create your first virtual machine.
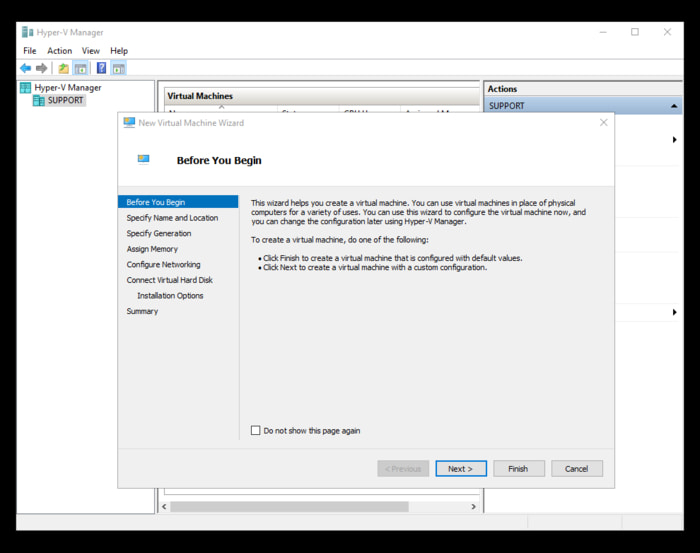
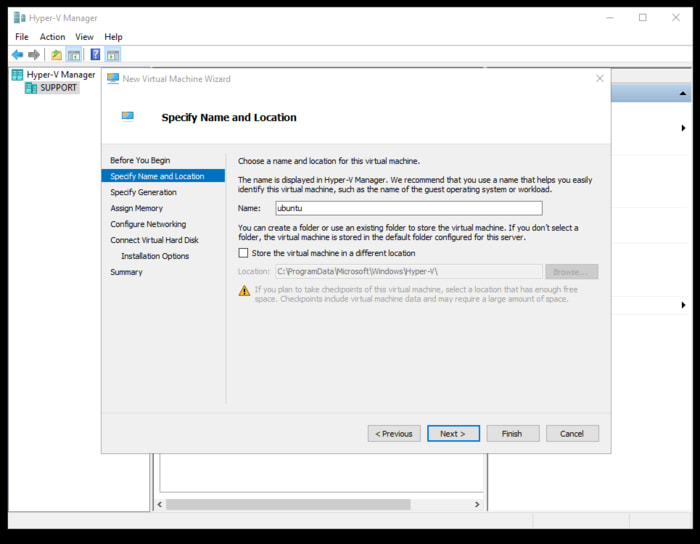
The next step is to observe via the menu to specify the name of your digital system and the area for the document.
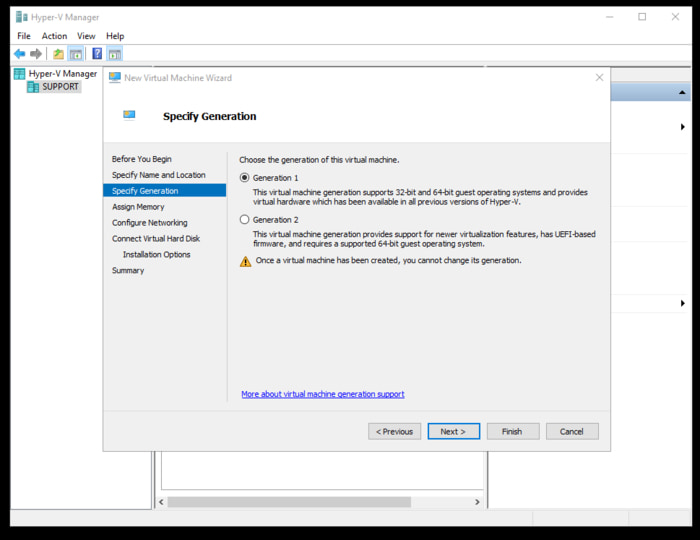
An essential decision wishes to be made within the “Specify Generation” section. This is in which you decide if the digital device could be 32-bit, sixty four-bit or both. Once you have decided, the instance cannot be modified. I could suggest 64-bit as the default because this has help for UFEI firmware.
See the be aware at the stop of the academic for a further step you can need.
Work through the wizard to assign memory; as a manual you could allocate about half of your running RAM. So if you have 8GB, assigning 4GB must now not impact the host machine overall performance an excessive amount of. Next, configure your networking, that’s usually the drop-down default transfer.
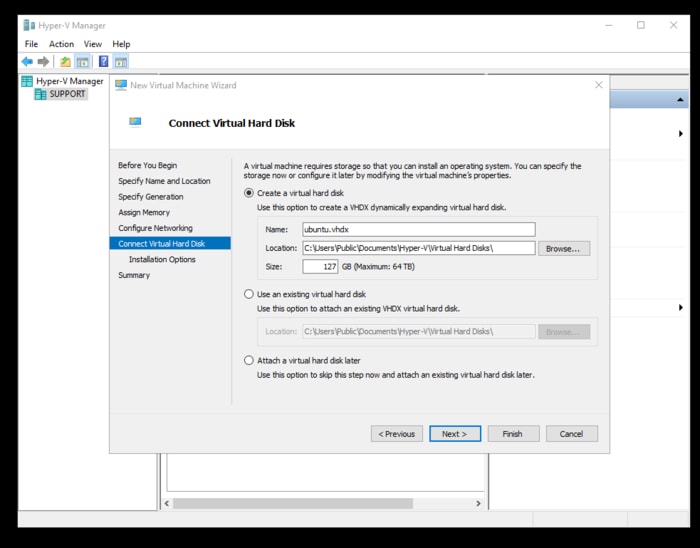
Now you need to create a disk to install to. This is the point of Virtualisation – it permits customers to put in an OS to a single, but huge, report that may be backed up, copied, transferred and so forth like another document.
You will preferably need 25GB at least for Ubuntu.
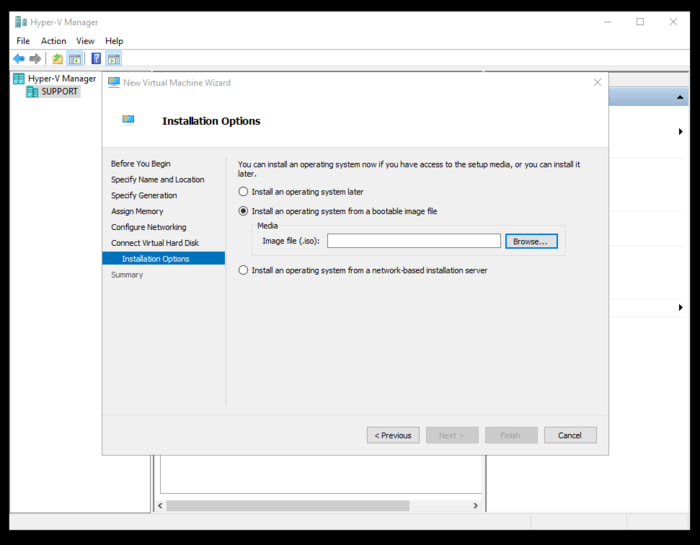
Finally, you have to be in a function to install the OS. The subsequent step is to discover the ISO document you downloaded and permit the virtual gadget use it.
Hyper-V will now prompt you to start your virtual machine. Click the button and install just as you would if it were to a native hard disk.
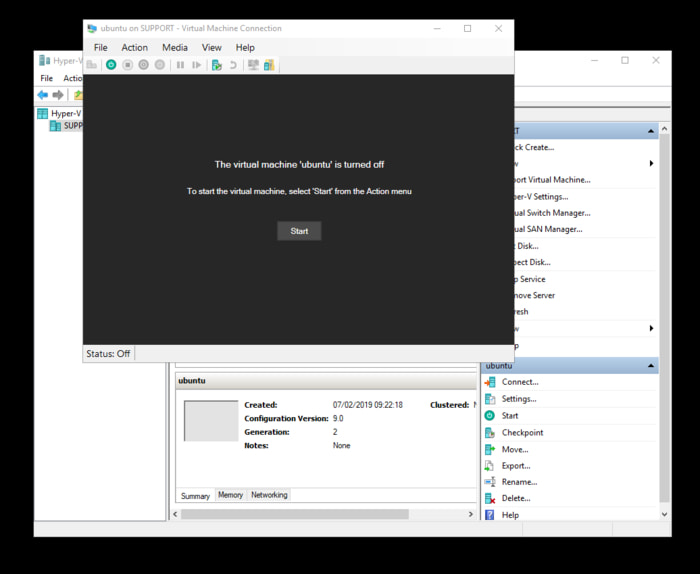
Once installed, simply reboot as prompted and start to use your new Ubuntu installation as required.
Bonus
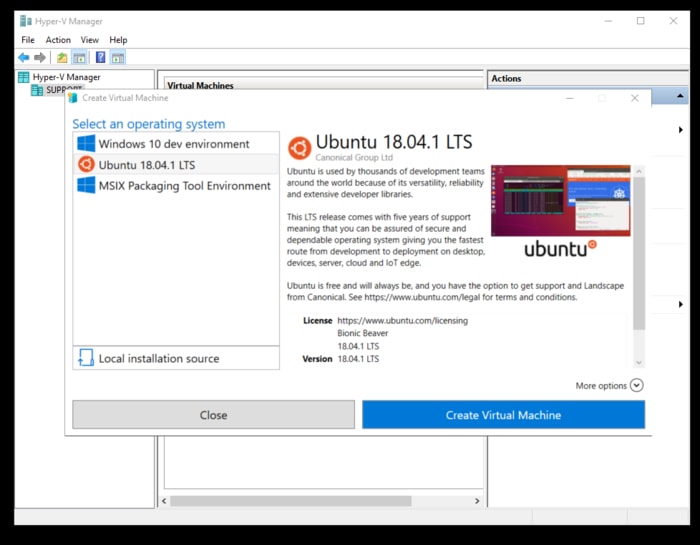
Hyper-V now has a miles simpler set up method for Ubuntu that customers in a hurry may also want to take benefit of if they require no additional configuration. Click the “Quick Create” button on the menu on the proper, and you will see a pop-up container with Ubuntu as one of the alternatives.
64-Bit Note
As discussed, in case you select 64-bit and UFEI, you could need to disable Secure Boot in the settings. This is positioned on the main window at the lowest-proper.

Following this manual, you ought to now be able to run Ubuntu as a digital gadget, or some other OS for that matter. How do you operate yours? Who runs a virtual server on their machine and why? The opportunities are limitless, so please let us understand within the comments phase.